WordPress FedEx Return label plugin is an addon for Ninja form. Fedex return label printing for wordpress plugin create a fedex return label by just filling the Ninja form. Fedex return receipt or label plugin is very useful, if wordpress website owner allow to generate return receipt or label from their customer.
WordPress Fedex return label printing plugin has configuration option for admin to set store owner address. Fedex return label plugin has many configuration option, some key features listed down
WordPress Fedex Return Label Features
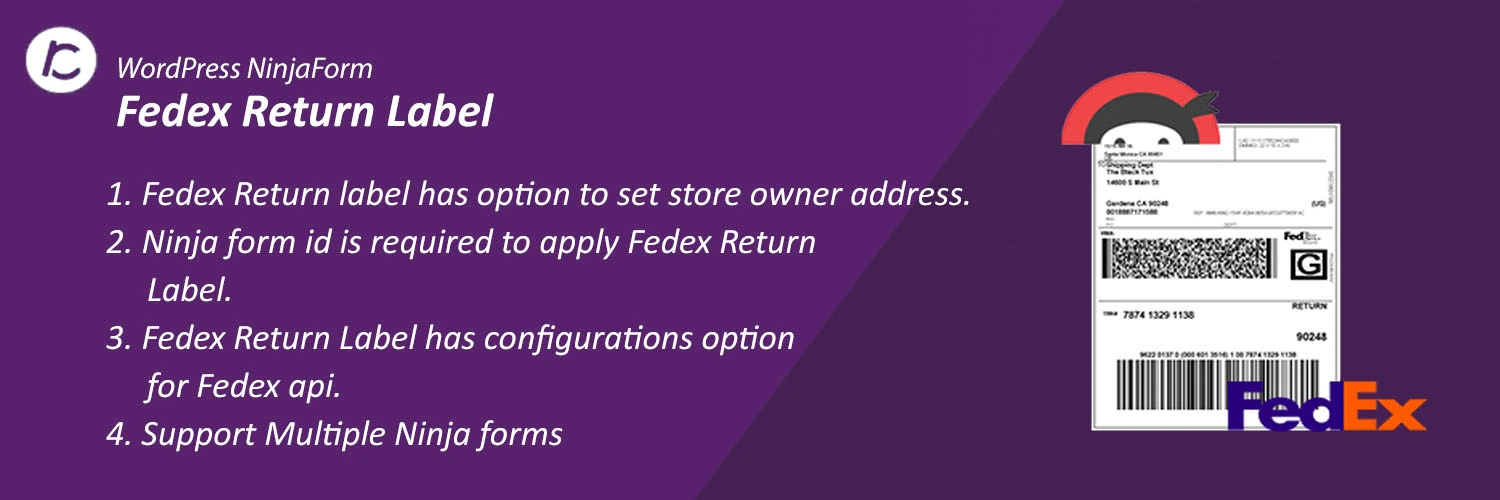
- Fedex Return label has option to add store address.
- Ninja form id can be set to apply fedex Return Label.
- Fedex Return Label has configurations option for Fedex api.
- Support Multiple Ninja forms.
WordPress Plugin installation
If you are new to wordoress please follow our wordpress plugin installation blog https://crevolsoft.com/blog/how-to-install-plugins-in-wordpress/ if you know how to install wordpress plugin you can skip this section.
Fedex Return Label configurations
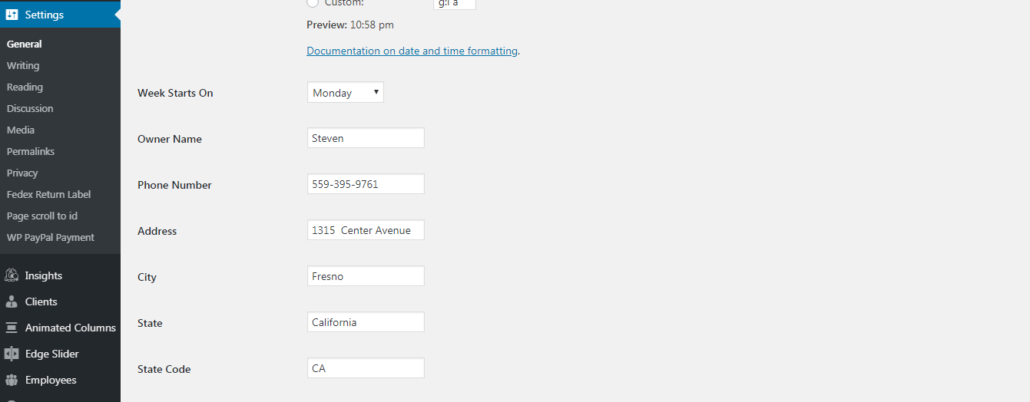
After successful plugin installation now its time to configure fedex return label plugin and save address for the store. In the configuration sequence you need to click on “settings >> general”. At the bottom of the page there are some fields to store the address just like below image, Please fill all the fields and save.

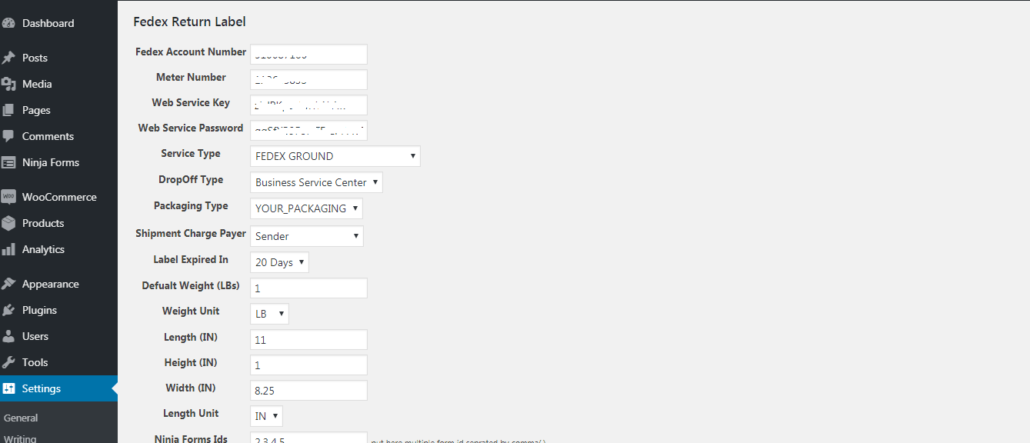
Now Fedex api configuration for return label plugin is required, after installing the plugin there is new sub menu created under settings as “Fedex Return Label”. Click on it and configure the fedex Api credentials and other required configuration.Please follow the screenshot.

Now your website is ready to generate Fedex Email/print Return label or printing fedex receipt on your website. Just open your ninja form from the url and fill the all required field and submit the form. Customer will get print label for the return package.
For any query or quick support please generate a ticket at https://support.crevolsoft.com/ or write us at support@crevolsoft.com

